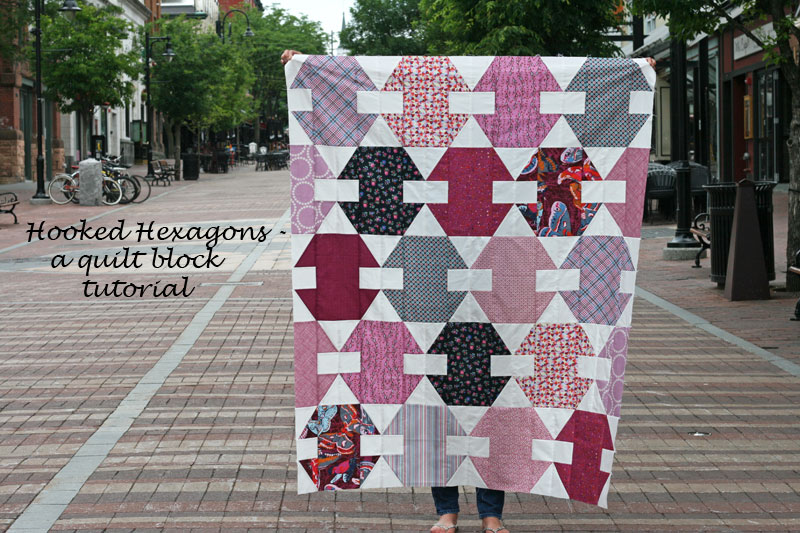
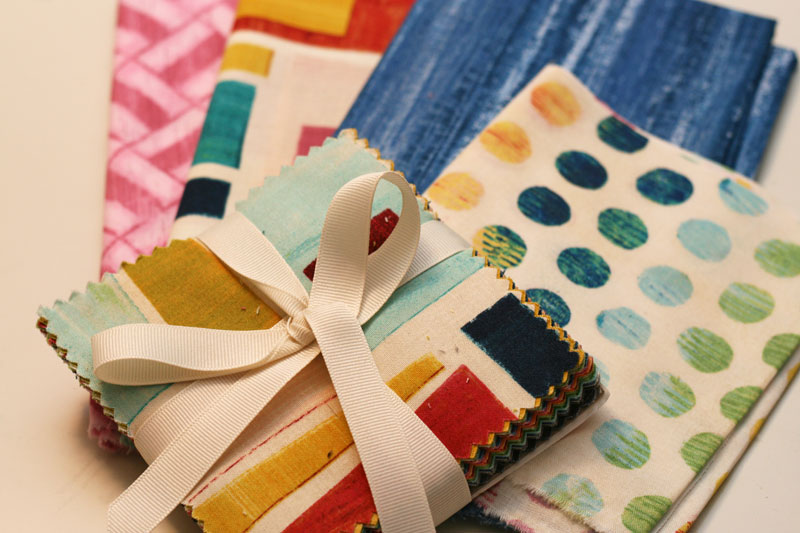
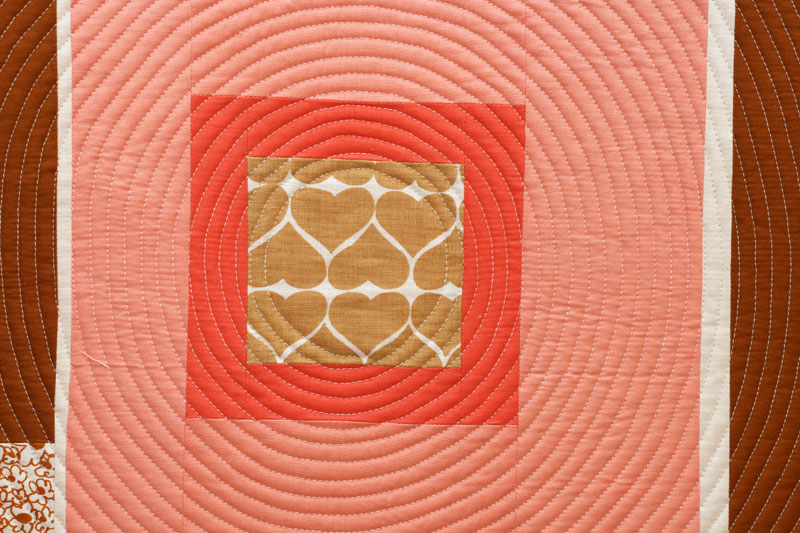
This is a great quilt block to show off larger pieces of your favorite prints. I’m providing measurements for a 12 1/2″ block and a 10″ block, so you’ll have your choice – the 12 1/2″ block is a great one for using fat quarters, and the 10″ block is designed for use with a layer cake.
Materials needed:
for each 12 1/2″ block:
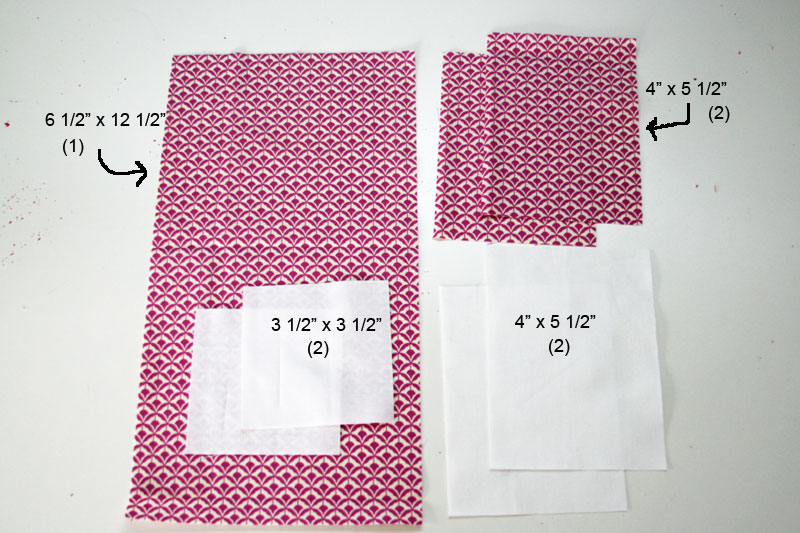
- 1 – 6 1/2″ x 12 1/2″ (print) **
- 2 – 4″ x 5.5″ (print)
- 2 – 4″ x 5.5″ (background color)
- 2 – 3.5″ x 3.5″ (background color)
*You can make 2 blocks from each fat quarter (using either a directional or non-directional print). If you have yardage, you can make two blocks from a 6.5″ strip of fabric cut across the width (non-directional prints).
**This quilt uses both full blocks and half blocks. For the half blocks, I like making a full block and cutting it in half. In order to do this, you’ll need to adjust the dimensions of your main rectangle, cutting it at 7″ x 12 1/2″.
Sizing:
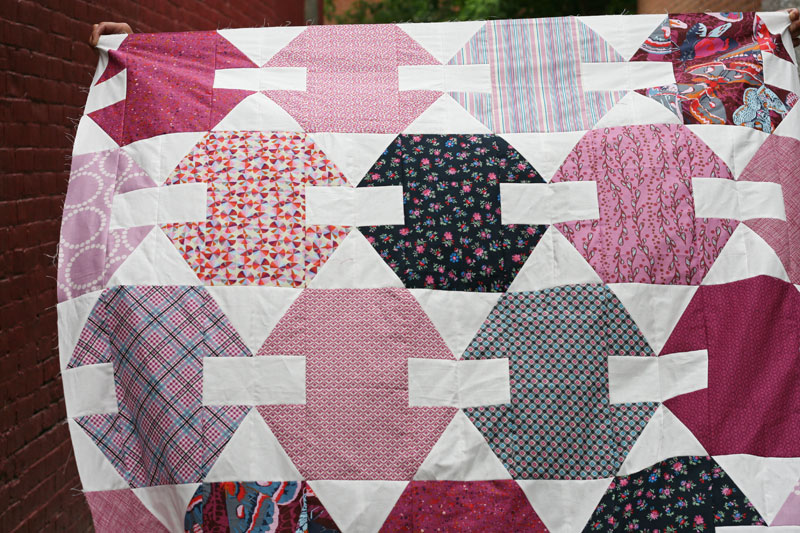
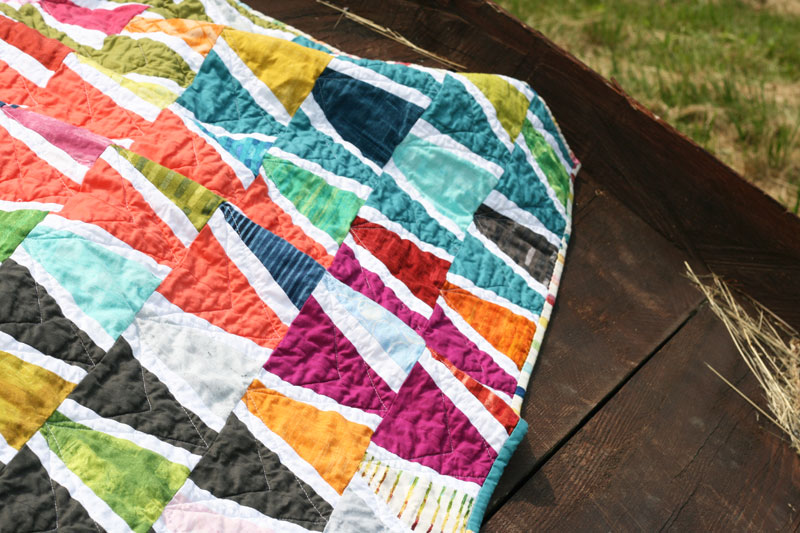
Baby quilt – The quilt top shown in this tutorial is baby sized, measuring about 48 1/2″ x 60 1/2″. It uses a total of 20 blocks – 18 full blocks and 4 half blocks. You could make this out of 10 FQs (or add in additional fabrics if you’d like more variety). You’ll need approximately 1 yard of background fabric.
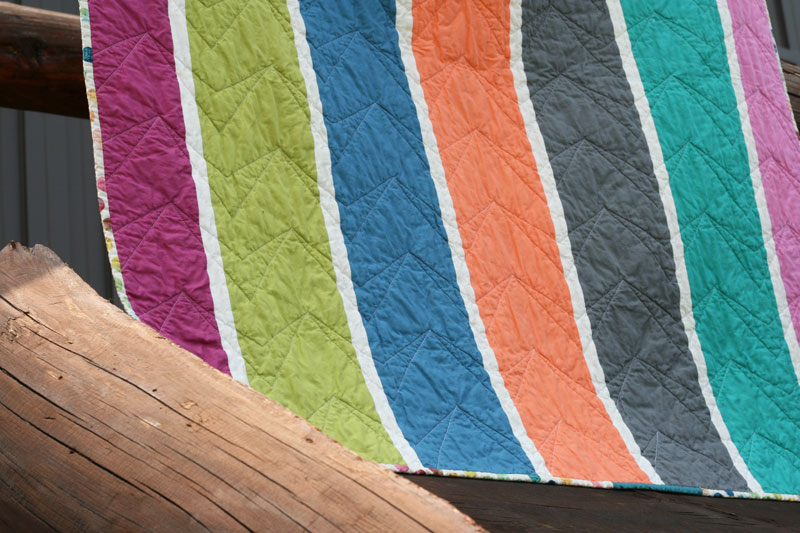
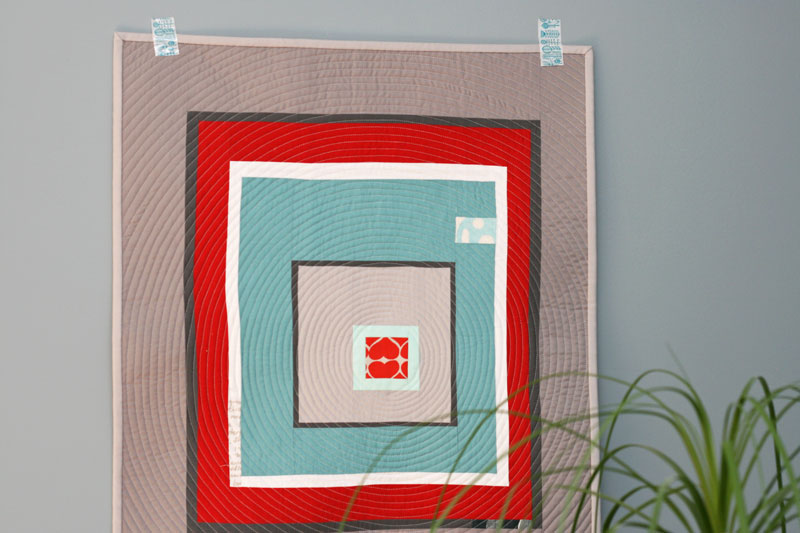
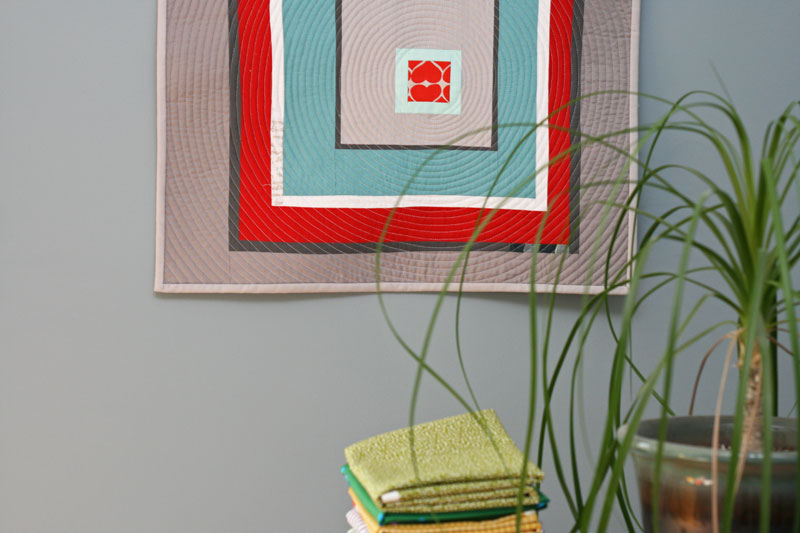
Throw – The aqua, gold & gray quilt top shown here is a larger version – a generous throw – and measures about 60 1/2″ x 72 1/2″. It uses a total of 30 blocks – 27 full blocks and 6 half blocks. You could make this out of 15 FQs (or add in additional fabrics if you’d like more variety). You’ll need approximately 1 3/4 yards of background fabric.
for each 10 1/2″ x 10″ block:
- 1 – 5.5″ x 10″ (print) **
- 2 – 3.5″ x 4.5″ (print)
- 2 – 3.5″ x 4.5″ (background color)
- 2 – 3″ x 3″ (background color)
*The 10″ block (I know, it’s not an exact square block, but I didn’t want to fiddle with the measurements anymore!) is ideal for use with a layer cake – you will need one 10″ square of printed fabric for each block. Instructions below are shown for the 12 1/2″ block, but are the same for this block, though you’ll end up with a 10 1/2″ x 10″ block.
**This quilt uses both full blocks and half blocks. For the half blocks, I like making a full block and cutting it in half. In order to do this, you’ll need to adjust the dimensions of your main rectangle, cutting it at 6″ x 10″.
Sizing:
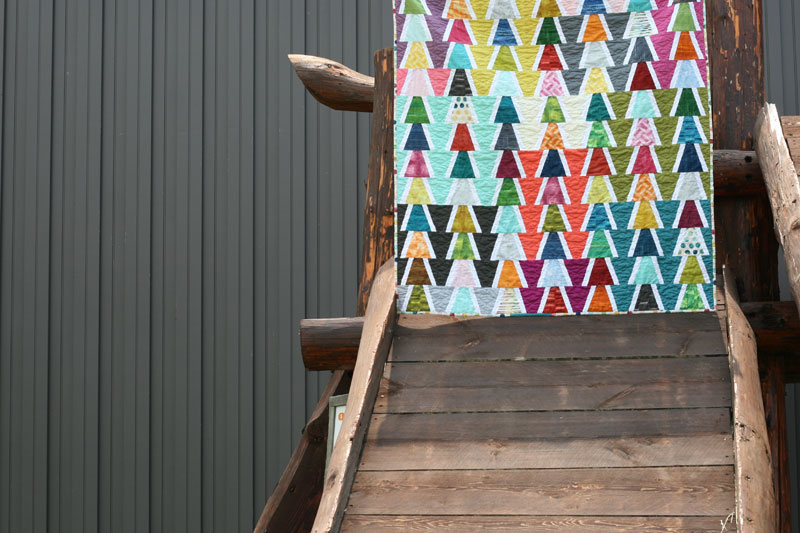
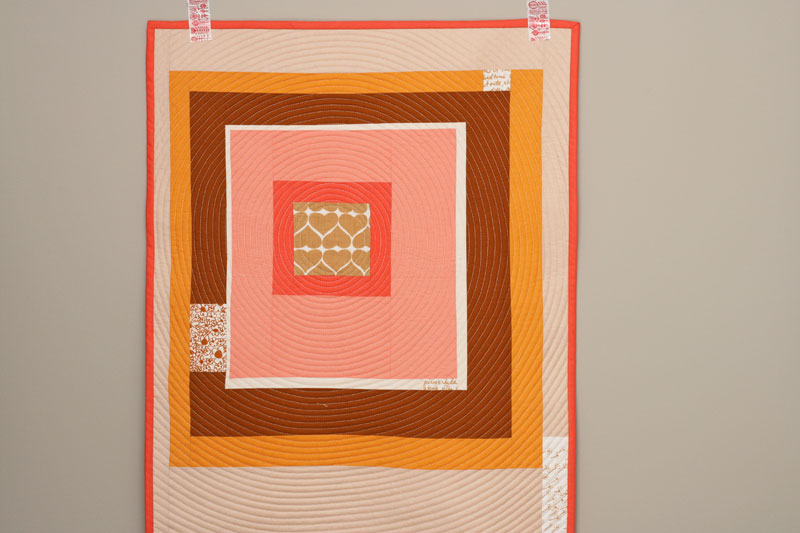
Playmat – The Collage quilt top shown here is essentially a square, measuring about 40 1/2″ x 38 1/2″. It uses 16 blocks – 14 full blocks and 4 half blocks. You’ll need 16 – 10″ squares of printed fabrics and about 3/4 yard of background fabric. (Of course you can adjust the number of blocks to make a larger quilt, but you’ll need to adjust your fabric requirements accordingly!)
This block is made up of one large rectangle, bordered on either long side by 2 half rectangle triangle blocks sewn to a background square. Half rectangle triangles are made in a similar manner to making half square triangles, though due to the nature of rectangles, you’ll have to make sure you make two with the diagonal seam running from the bottom left to the top right, and two that are a mirror image, with the diagonal running from the bottom right to the top left. This tutorial, written by Latifah Saafir, is a great one for showing how the half rectangle triangles are made and squared up.
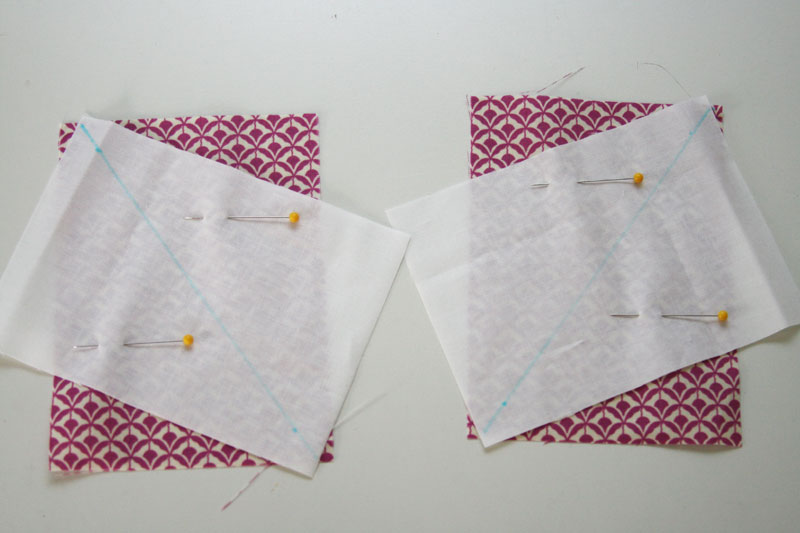
Follow this tutorial to make 4 half rectangle triangles. Latifah provides instructions for squaring up the blocks, but I had trouble using that method to reliably square up my blocks. Surprisingly enough, I found I had the best luck by making up paper templates and using those to trim my blocks. Blocks should be trimmed to 3 1/2″ x 5″. (Blocks for the 10″ square should be trimmed to 3″ x 4″)

If you’d like to do the same, you’ll need to cut two paper rectangles that measure 3 1/2″ x 5″. (3″ x 4″ for the 10″ block). Measure in and mark 1/8″ from the bottom left and the top right of one template, and the bottom right and top left on the other template. Draw a diagonal line connecting the two points. I marked a “p” and “w” to indicate which side would be the printed and white.

Lay the template over your ironed block and trim.
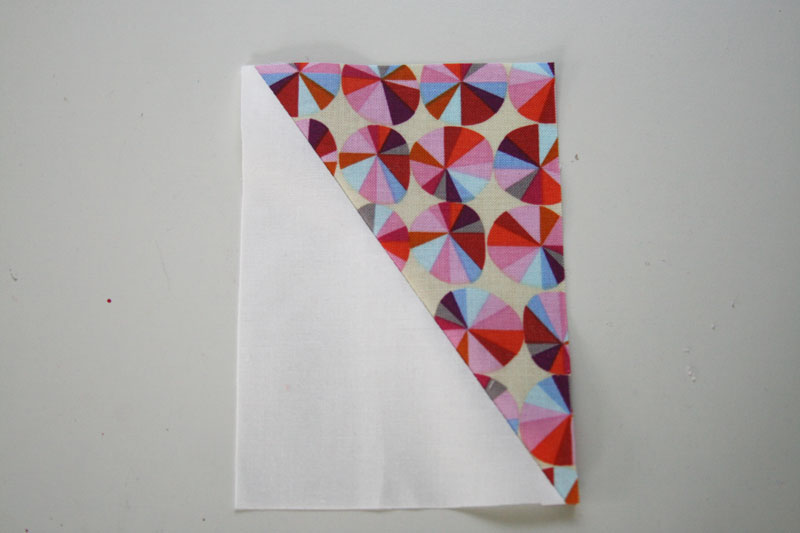
You’ll end up with a block that looks like this. With the diagonal seam offset by 1/8″, you’ll have correct 1/4″ seam allowances once you sew these blocks to your other pieces (don’t ask me to explain why – it’s way too taxing for my poor brain!)
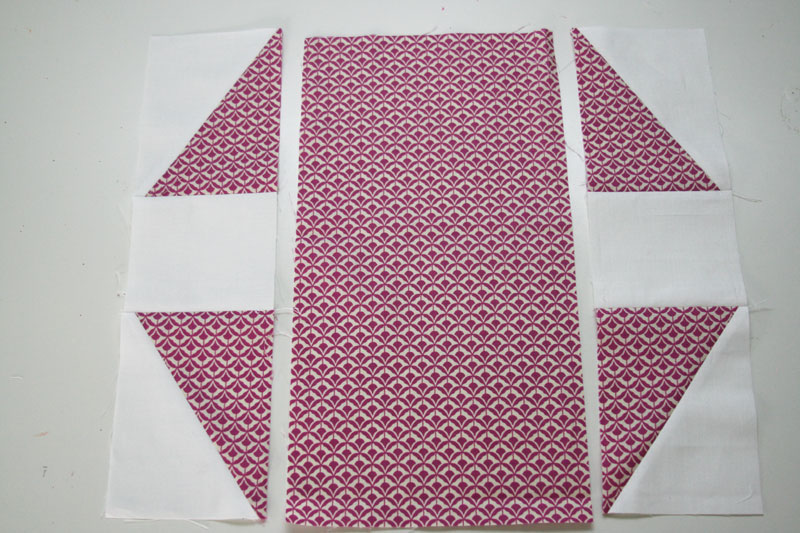
Sew two diagonal blocks to the 3 1/2″ square background piece, as shown in the photo above. Iron seams, and then sew each resulting piece to the large rectangular printed piece.
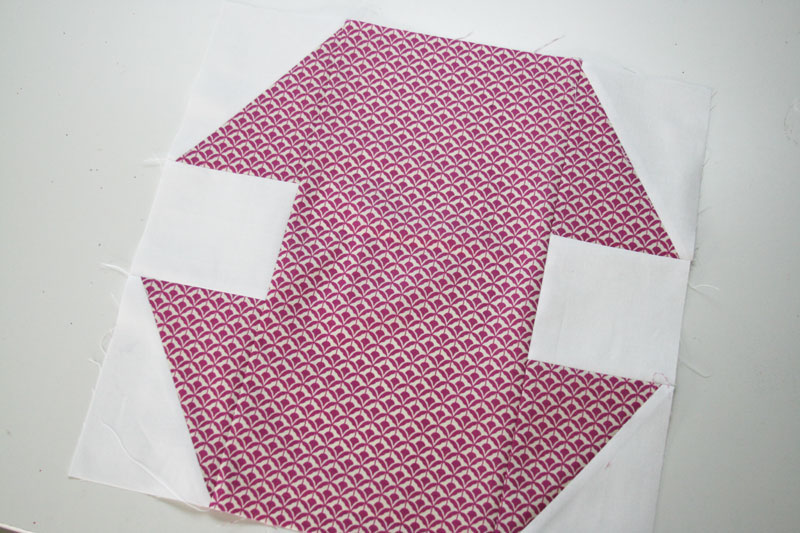
And voila! A nice 12 1/2″ square block.
Any questions? Leave them in the comments and I’ll answer there!


 Greater than/less than
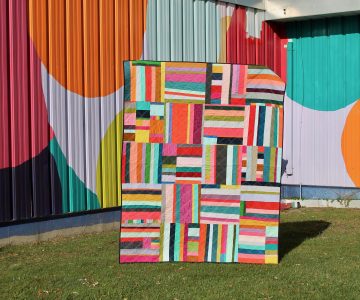 scrappy solids