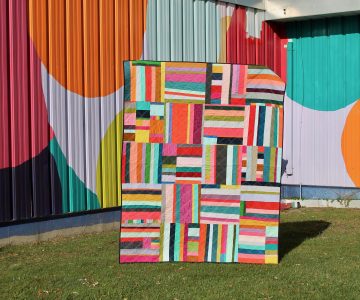
a little liberty wall hanging

littleliberty2

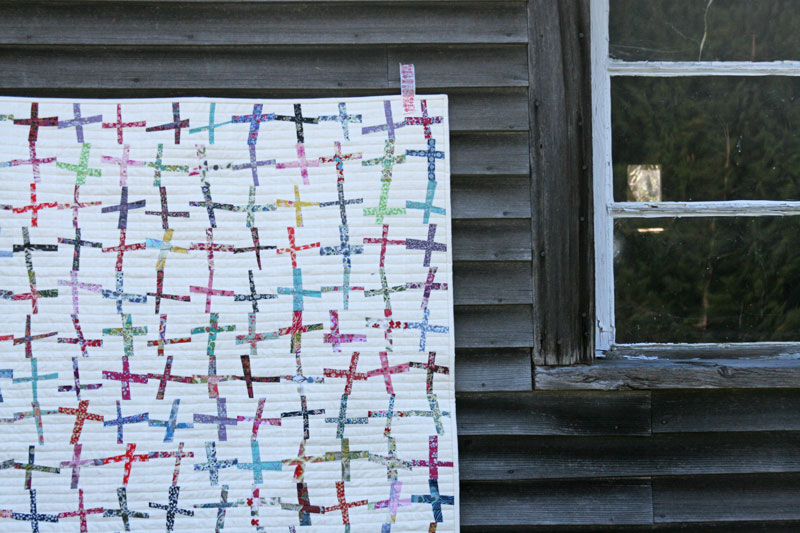
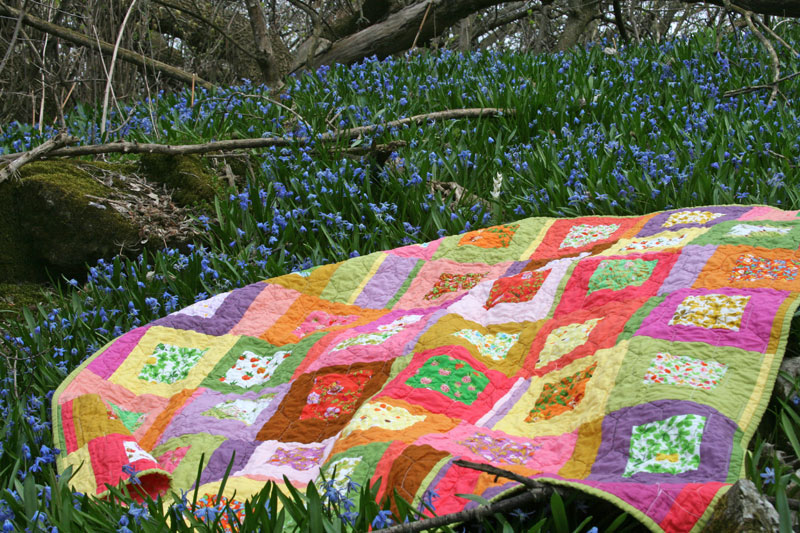
For being so small, this quilt certainly took a long time to become an actual quilt! I just looked back to see my initial post about these blocks, and it was way back in October of 2011.

littleliberty

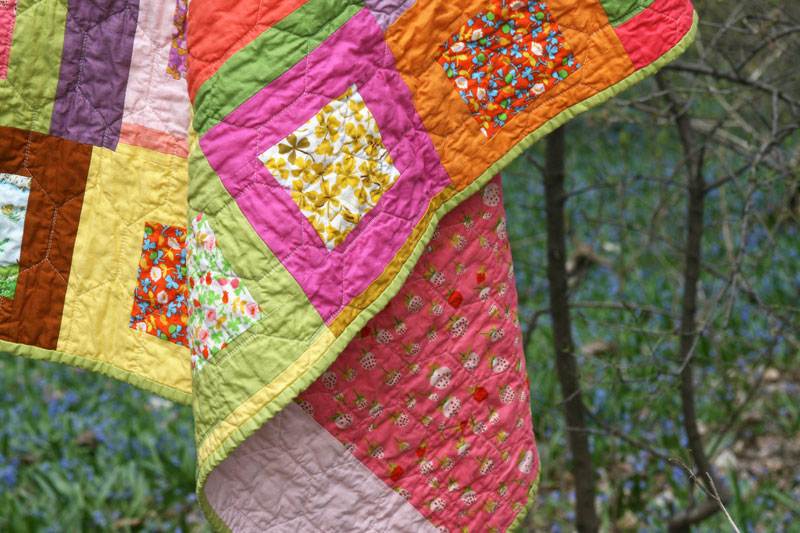
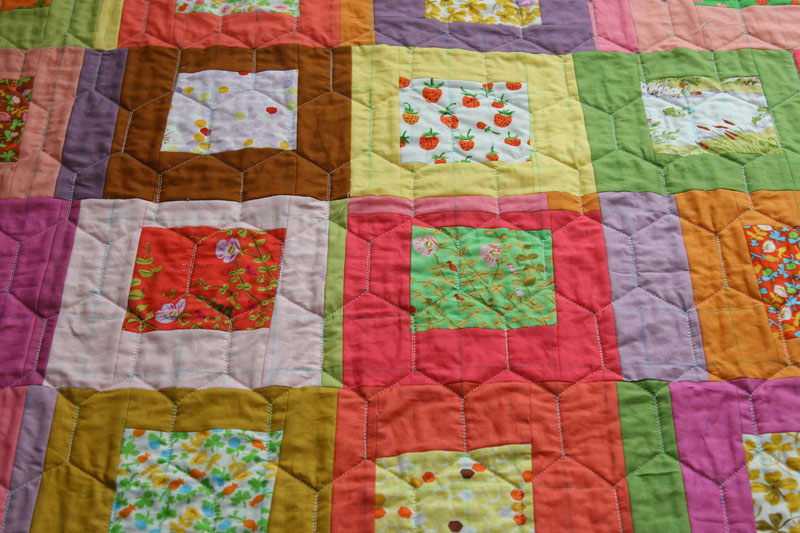
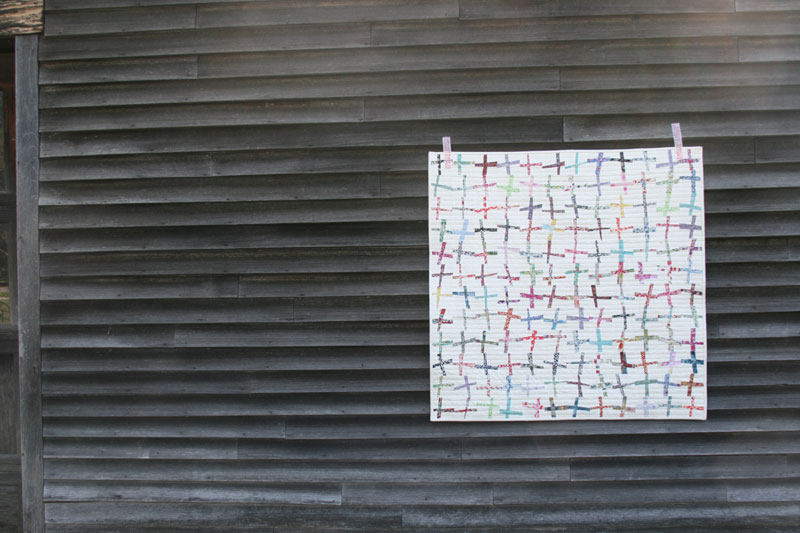
This one uses small pieces of long-horded pieces of Liberty of London, made into cute little wonky cross blocks – each measuring 3.5″. At one point I think I had grand plans that this would become lap sized at least, but after all this time I had to finally come to terms with the fact that that just wasn’t going to happen! I made up most of these blocks and stuck them up on the design wall over our dining room table, and it had been a permanent art installation for over a year.

littleliberty3

I’m kind of glad that I waited though, since I now had a very good reason to finish this one up. It will soon (once I sew up a hanging sleeve, that is!) hang on the wall in the baby’s nursery, and I’m happy that both Max and the new baby will have a little something handmade hanging on their walls (Max’s wall hanging can be seen here).

littleliberty4

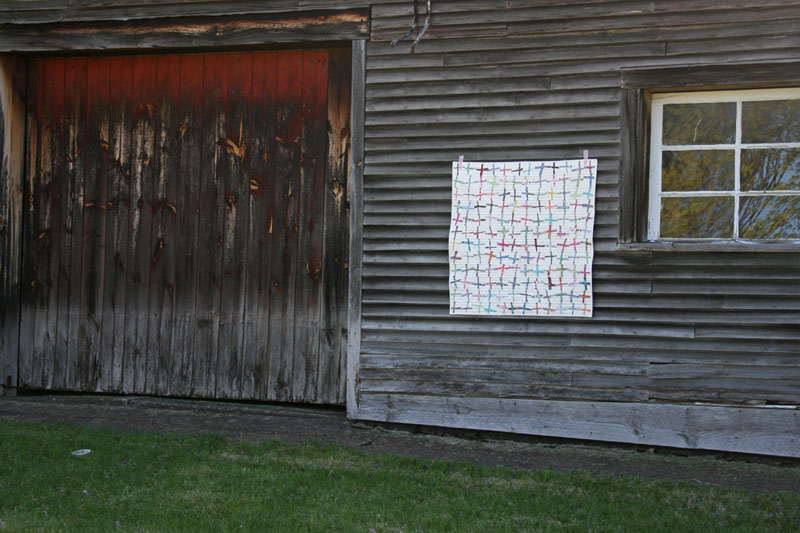
What you don’t see here is how many times I had to stop to pick up this quilt off the ground. I love this tape, but perhaps it wasn’t the best choice for taping a quilt to the side of a barn. My helpers stuck around for a few minutes, then found the side of the road to be far more entertaining.

bigwave

(his biggest wave for each and every passing car!)

Posted in [search] Wonky/Improv Quilts, baby, Fabric, Posts about Quilts, Quilts | Tagged , , , , , , | 12 Comments

Elongated Hexagon/Honeycomb quilting – a tutorial

honeycomb

Well, I was supposed to write this post last night, but instead found myself passed out on the couch nearly as soon as I sat down – chasing a toddler all day while pregnant sure is tiring! But anyway, I’m sneaking in a little time this morning while he’s happily learning letters with Elmo.

Thanks for all your comments on my Briar Rose quilt! And now here’s a quick little tutorial showing how I did the honeycomb quilting… As I mentioned before, it’s a straight line quilting design, which I did with my walking foot. There is a lot of starting, stopping and pivoting, so you might want to try this design on a smaller quilt before committing to a large one. This quilt measured about 50″ square, and I found this to be manageable and not too terribly tedious!
honeycomb1

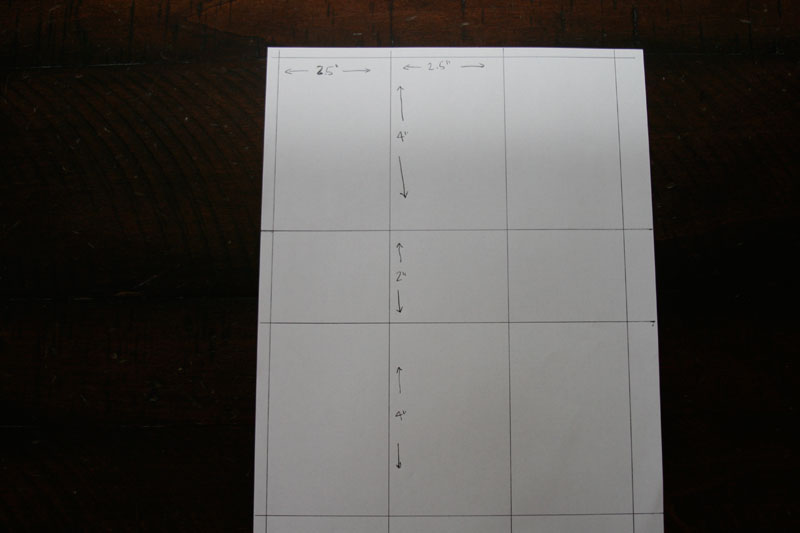
The key for me in keeping it all straight and in line was to first draw out a grid on my quilt top with a washable marker (I use the blue Mark B Gone washable markers which I buy at JoAnns). This size grid creates elongated hexagons which measure 4″ tall at the tallest point and 2.5″ wide.

Start by drawing vertical lines 2.5″ apart across the quilt top. Then you’ll want to draw horizontal lines which alternate between 4″ and 2″, as shown above.
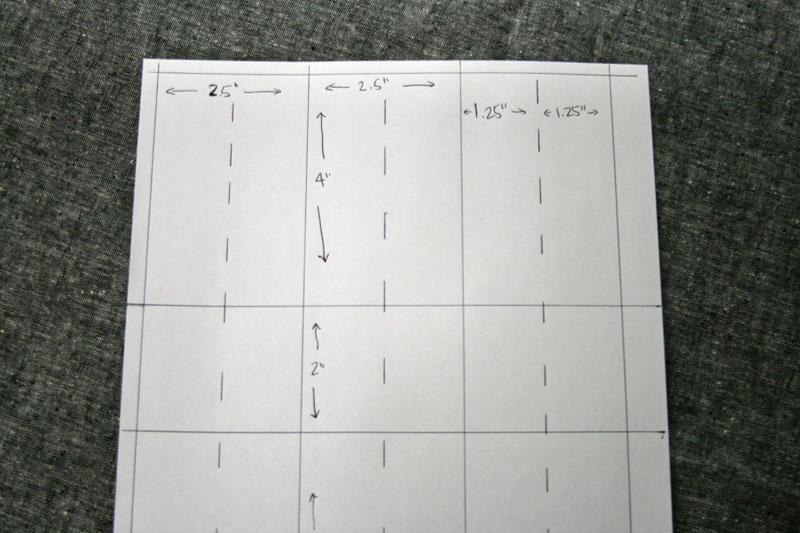
honeycomb2

Next draw dashed vertical lines halfway between the vertical lines you already drew (1.25″ away from your vertical lines).
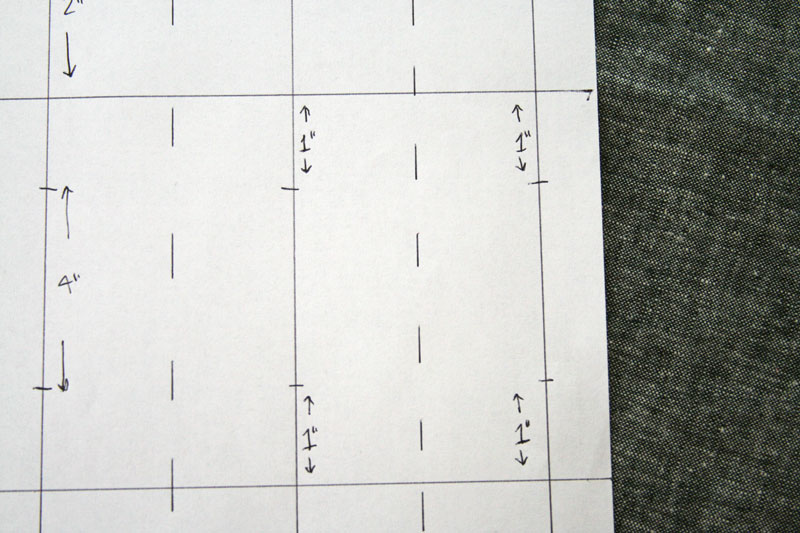
honeycomb3

Then make a small tick mark 1″ away from each horizontal line (your mark should be drawn on your solid vertical lines – you won’t need them on the dashed lines). And that’s it for marking (phew!). Now onto the actual quilting!
honeycomb4

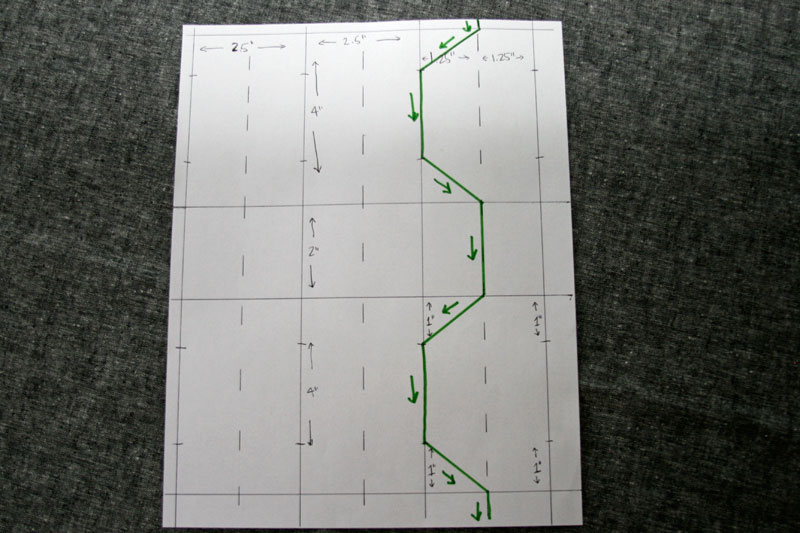
The quilting is done in columns, starting at the top and finishing at the bottom of your quilt with one continuous line. You’ll create half hexagons for each column you quilt. I like to start in the middle of the quilt and quilt all the columns out to the right side of the quilt, then I flip the quilt and start from the middle again, working out to the side.

Starting on the dashed vertical line, sew until you reach the first horizontal line, then keeping your needle down, pivot and sew diagonally out to the first tick mark. Pivot again and sew along the solid vertical line to the next tick mark. Pivot and sew diagonally back to reach the point where the dashed line crosses the next horizontal line, then pivot and sew along the dashed vertical line until you reach the next horizontal line (and repeat!)

[Note: I sewed the straight lines by eye, but you could certainly opt to draw all the lines out ahead of time if you’re worried about keeping your lines straight. ]
honeycomb5

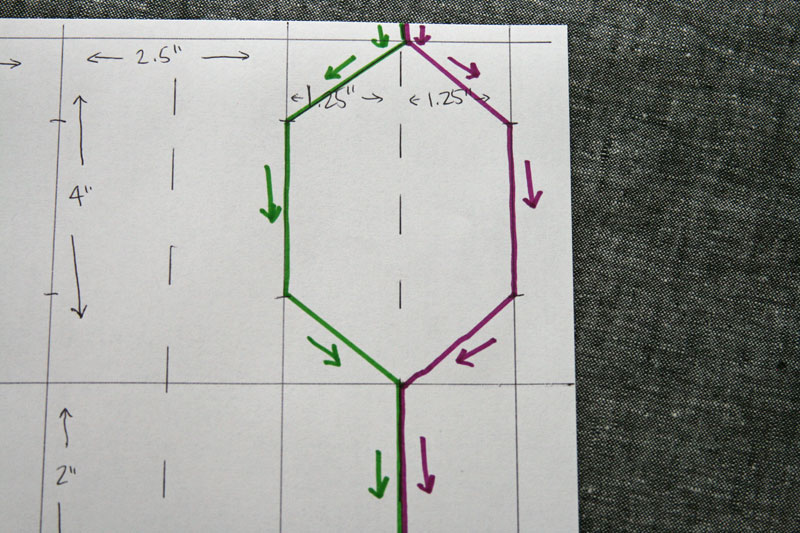
Once you complete the first column, you’ll repeat this process to make the other half of the hexagons (as shown above in purple). The quilting will start in the same place, and you can decide if you want to sew on top of the line you previously made, or if you want to sew alongside that line. (I opted to try to sew very close to the existing line).
honeycomb6

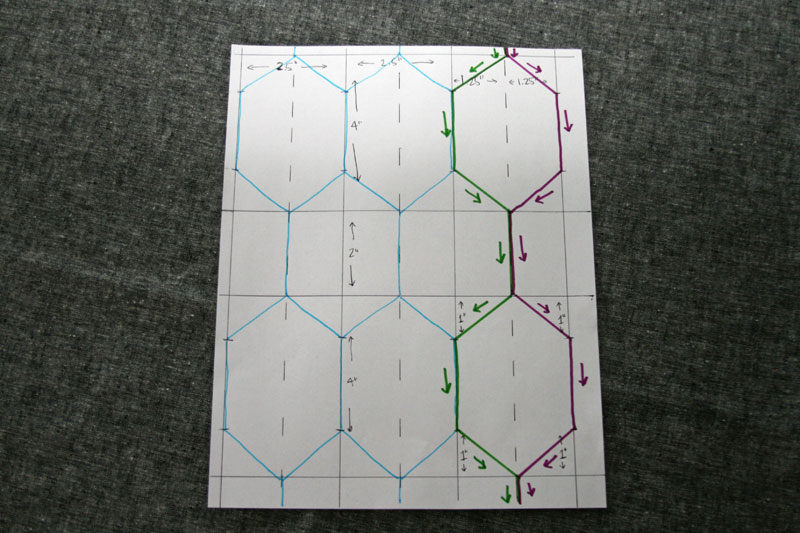
Continue quilting and soon you’ll see a great pattern of elongated hexagons emerge!

Any questions? Leave them in the comments and I’ll answer there. And of course, I’d love to see it if you decide to try this quilting design, so be sure to add them to my Flickr group!



Posted in Posts about Quilts, Tutorials | Tagged , , , , | 16 Comments

briar rose strawberry patch quilt

briarrosestrawberrypatch

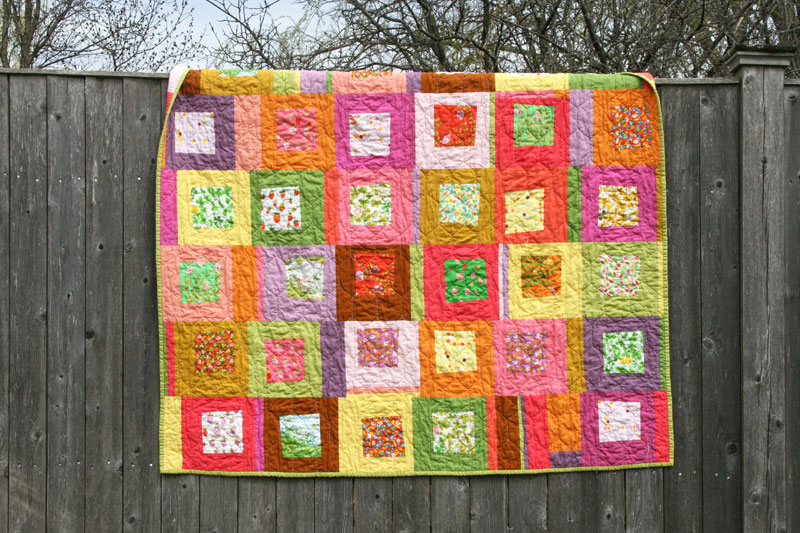
Well, I must say, Heather Ross definitely has a winner with this upcoming line, Briar Rose (available this July)! It’s been a long time since we’ve had the chance to get Heather Ross fabrics on quilting cotton, and this certainly does not disappoint!

briarrosestrawberrypatch4

It’s produced by Windham Fabrics, and from what I can tell from these 5″ charms, it’s printed on a really nice basecloth which will be wonderful for both quilting and clothing.

briarrosestrawberrypatch2

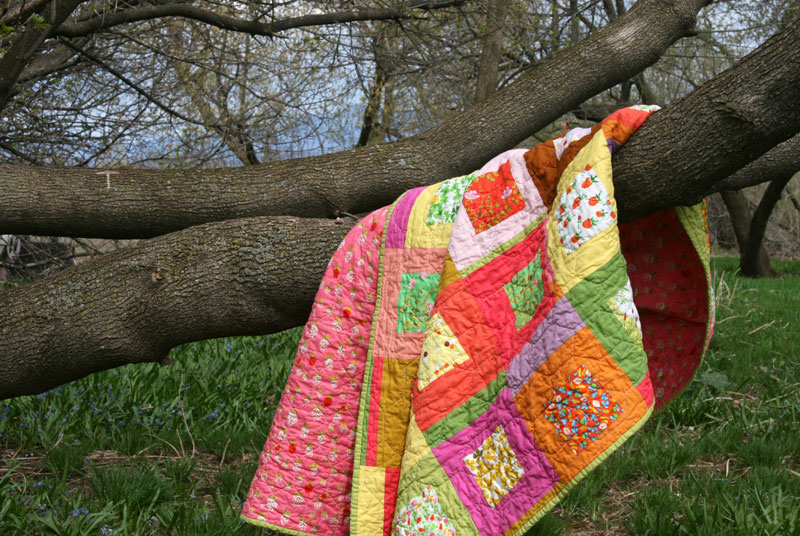
I was so pleased to receive a charm pack from Windham Fabrics, and wasted no time getting it sewn up into a little quilt. As I mentioned previously, my goal was to try to use the charm squares to make a decent sized quilt, so to that end, I added in a bunch of Michael Miller Cotton Couture solids in coordinating colors.

briarrosestrawberrypatch3

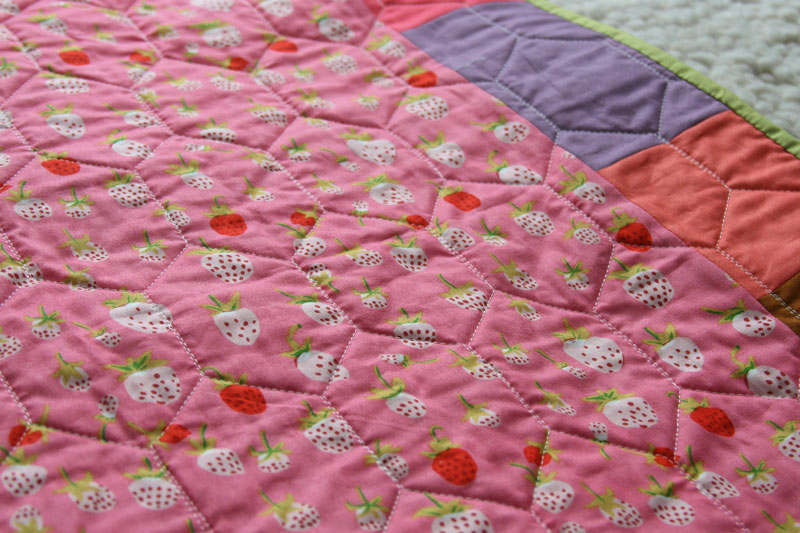
A desperate plea provided me with an extra piece of that great strawberry print, which I used for the majority of the backing, adding in a patchwork strip of leftover solids on either side. I even snuck in a little bit of the selvage which has a cute little strawberry on it (no photo, unfortunately!)

honeycombquilting

As I was thinking about how to quilt it, I remembered a pillow I had seen recently which was printed with an elongated hexagon/honeycomb design. I kept thinking how it would be fun to try to quilt a similar design, and what better quilt than this one with its honeycomb bee print? The photo above shows the quilt before washing, where you can sort of see that I drew out a grid and several various marking lines with washable marker to help keep everything in line.

honeycombquilting2

It’s a straight line design, which requires a bit of starting, stopping and pivoting, so maybe not the fastest quilting, but certainly fun, and I’m really pleased with the final look. I could put together a little diagram if you’d like to see how it was quilted. Elongated hexagon tutorial can be found here.

I’m really excited to see the new baby laying on this fun quilt, but before then, you might be able to catch a little glimpse of it at Quilt Market if you’re going!

Posted in [search] Charm Quilts, [search] Wonky/Improv Quilts, baby, Fabric, Quilts | Tagged , , , , , , , , , , , | 31 Comments