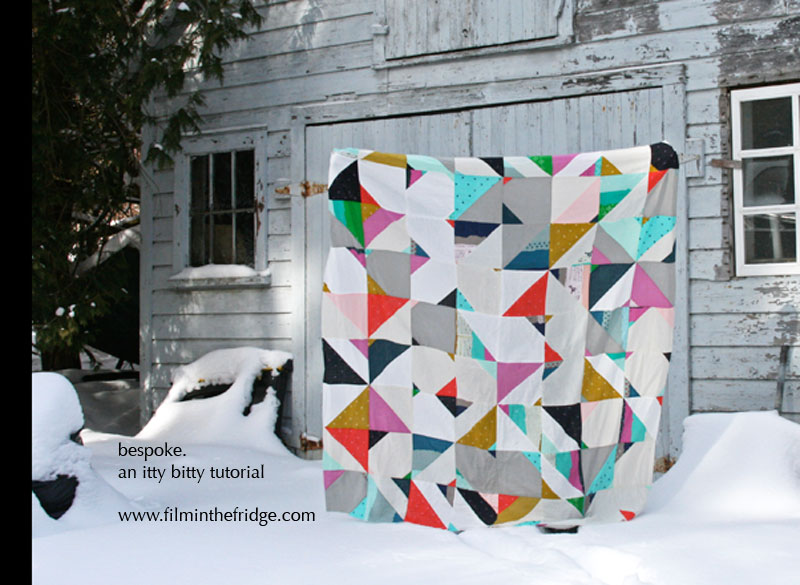
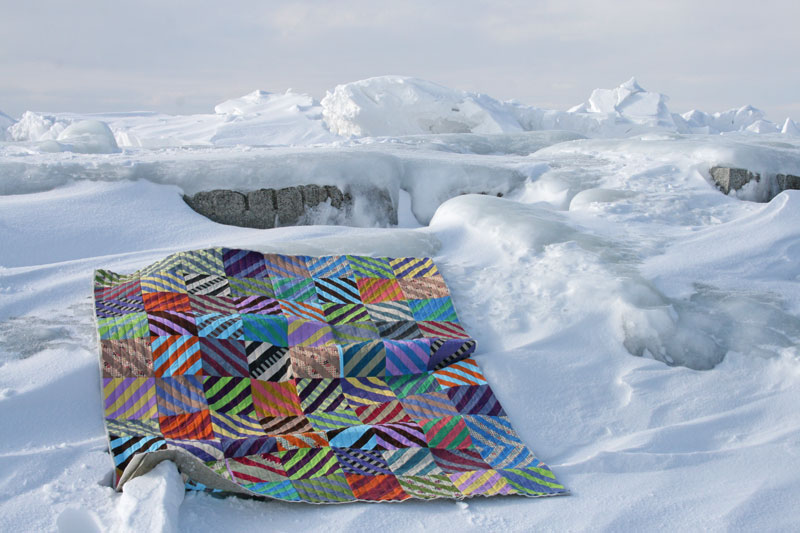
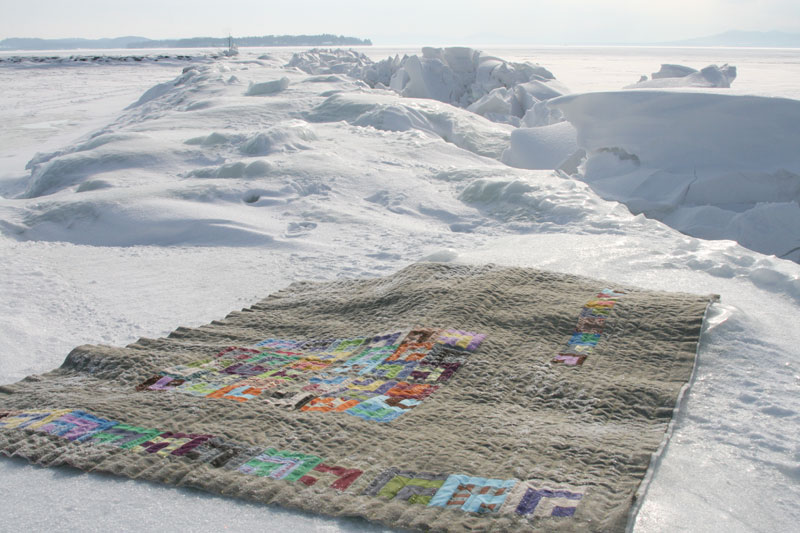
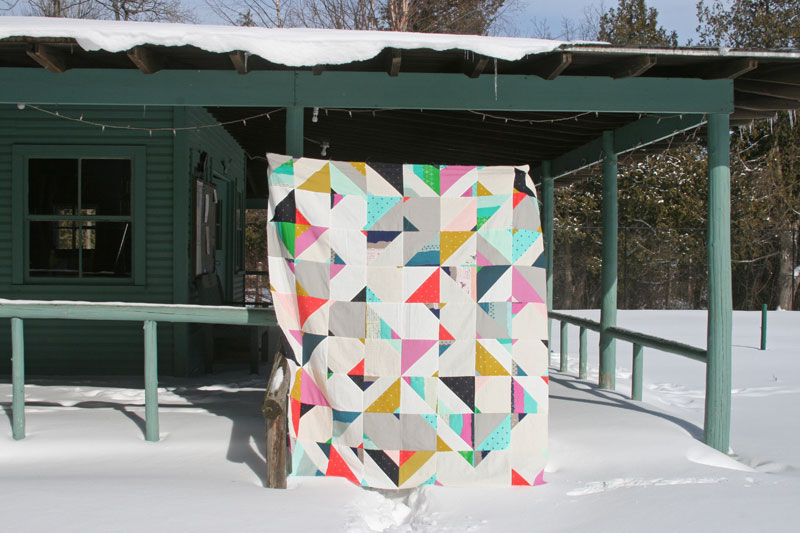
I thought I’d provide you with a couple measurements in case you’re interested in making a quilt similar to my bespoke quilt. This one is nice and easy – it’s really just a few squares sewn together to create some triangles. I love how there’s no precise pattern – just a few measurements which will have you on your way to making these easy blocks – and I love how each quilt will look unique depending on your fabric placement within each block and the block layout.
Ready?
The blocks in my quilt are 8″ (unfinished), but really they could be any size you desire! For the 8″ block size, you’ll use a mix of 8 1/2″, 8″, 4″, and 2″ squares.
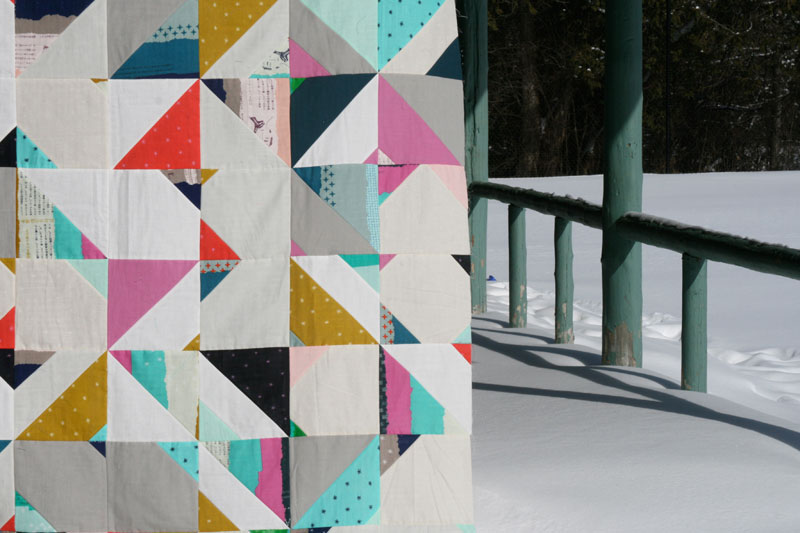
As I mentioned, my quilt uses the prints and solids from the Cotton + Steel Bespoke line (along with a few additional double gauze solids). I separated the prints and colored solids from the background fabrics – for background I used a gray solid, white solid, and the white on white Bespoke print.

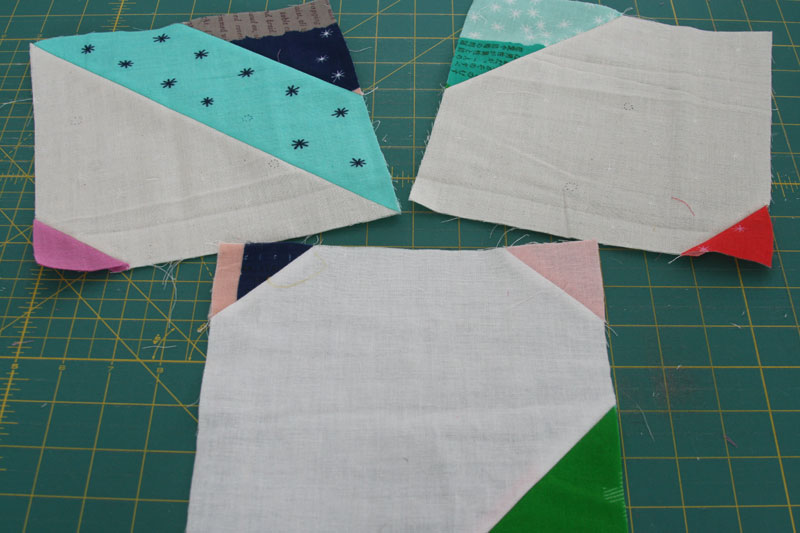
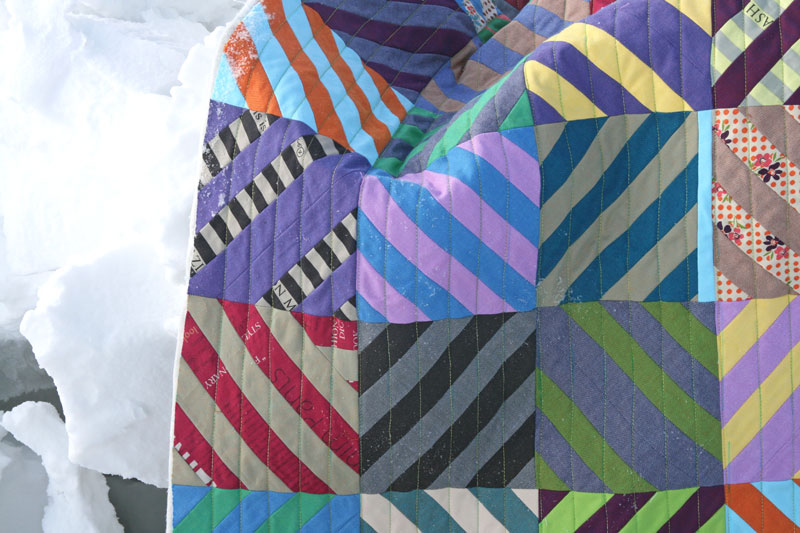
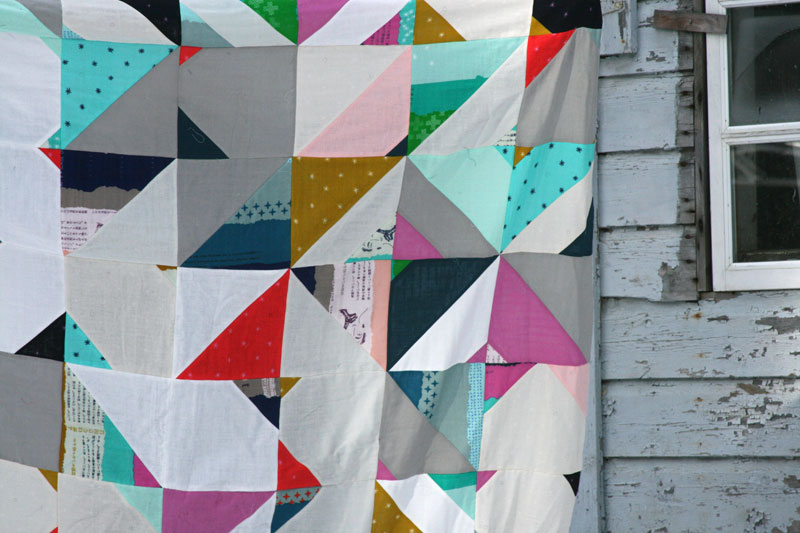
The majority of the blocks (2/3s) are large half square triangles. Cut 8 1/2″ squares of the printed and colored solids and a matching number of 8 1/2″ squares of the background fabrics. Mark a line through the diagonal of one printed square and pair with a background square. Sew, right sides together, on either side of the marked line. Cut along the diagonal, iron seams and trim to 8″ square. Repeat.

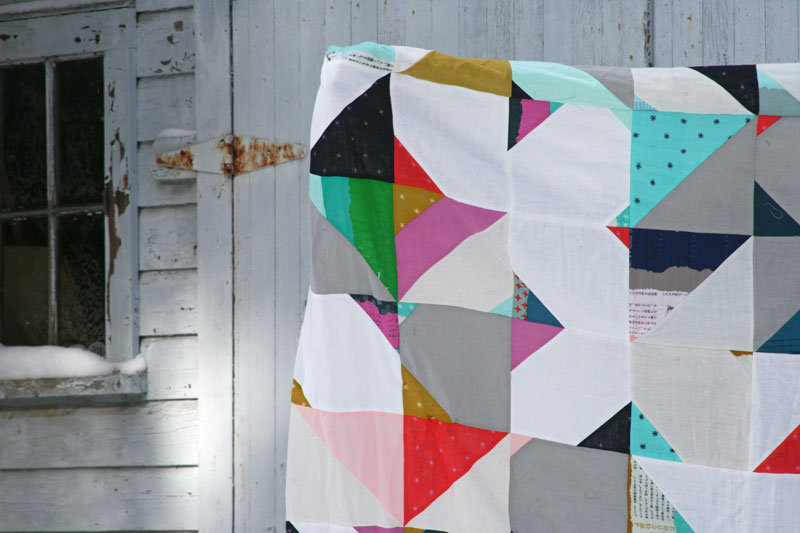
From here you can leave your block as is, or you might add an extra large or small triangle on either side of the hst. Take one of your 2″ or 4″ squares and mark the diagonal line with a washable marker. Place the square in one corner of your block (either on the background triangle or on the printed/colored triangle) and sew along the marked line.
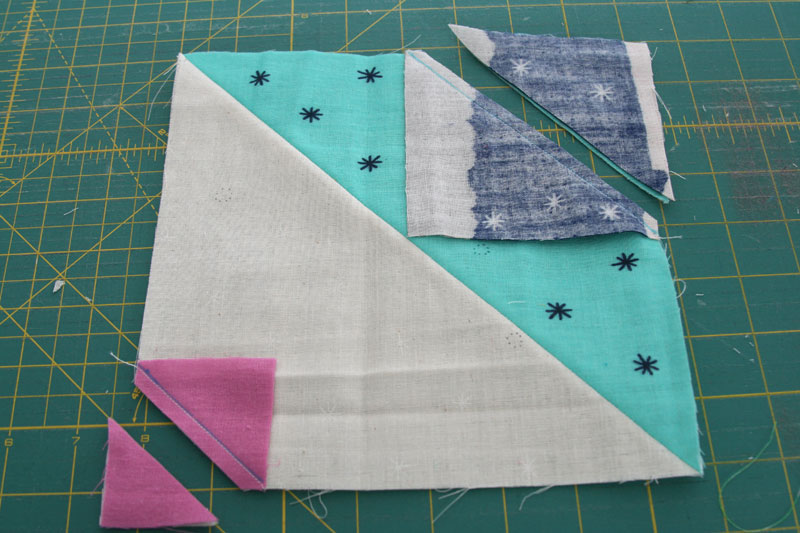
Cut 1/4″ from your sewn line and flip the fabric outwards to complete the square.
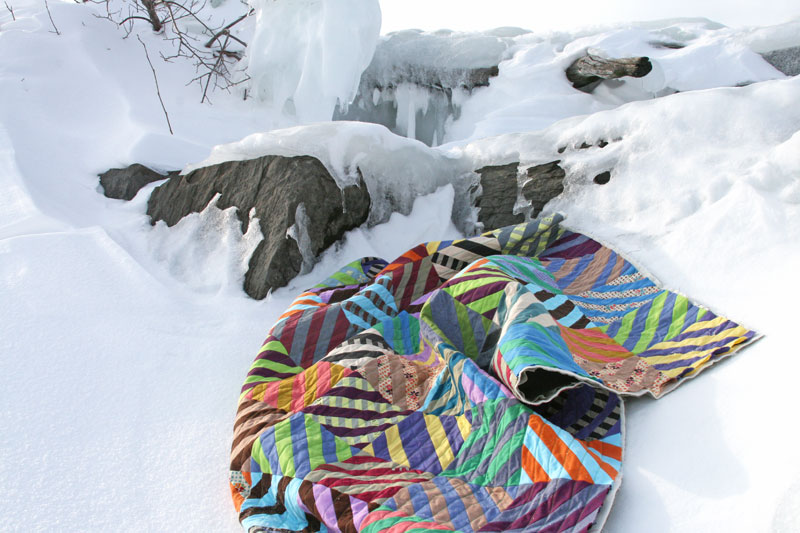
Note: I saved the trimmings from those 4″ squares and sewed them together into smaller hsts which I used for the backing.
I kept some blocks as just the half square triangle, and added a mix of 2″ and/or 4″ squares to the remaining blocks.
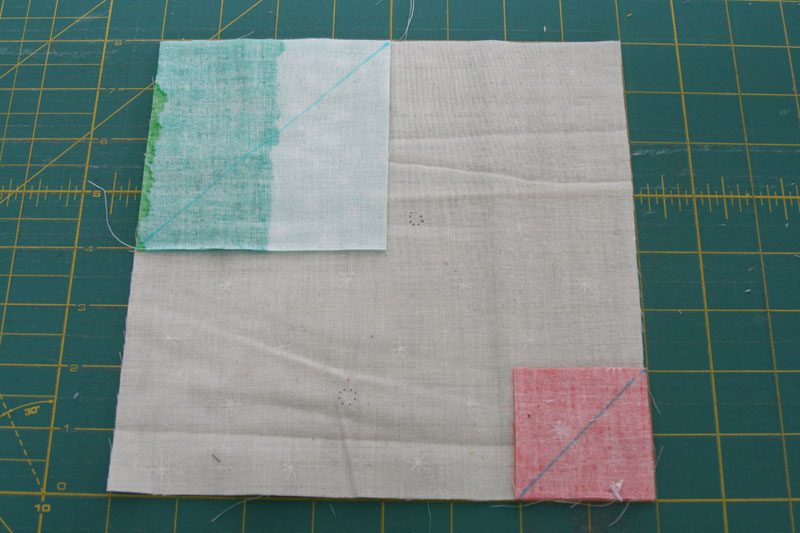
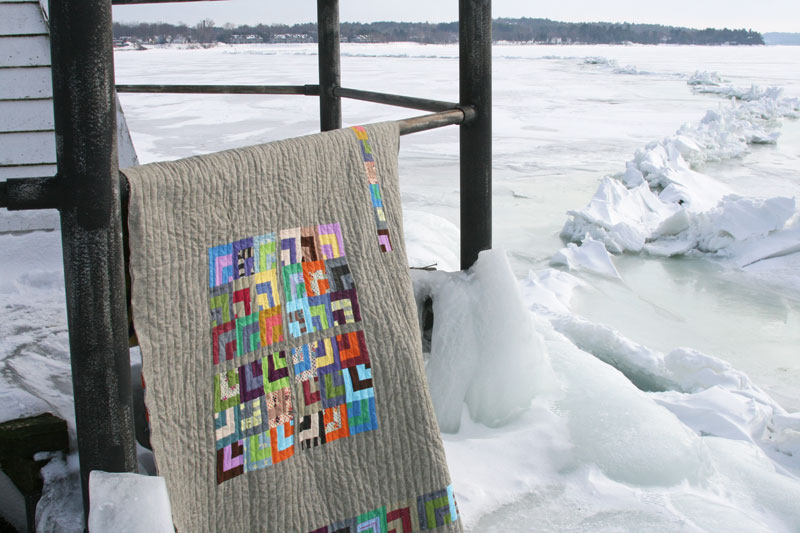
For the remaining blocks (approximately 1/3), cut your background fabrics to 8″ square. Add 2 or 4″ squares to any/all of the corners and sew following the same method described above.
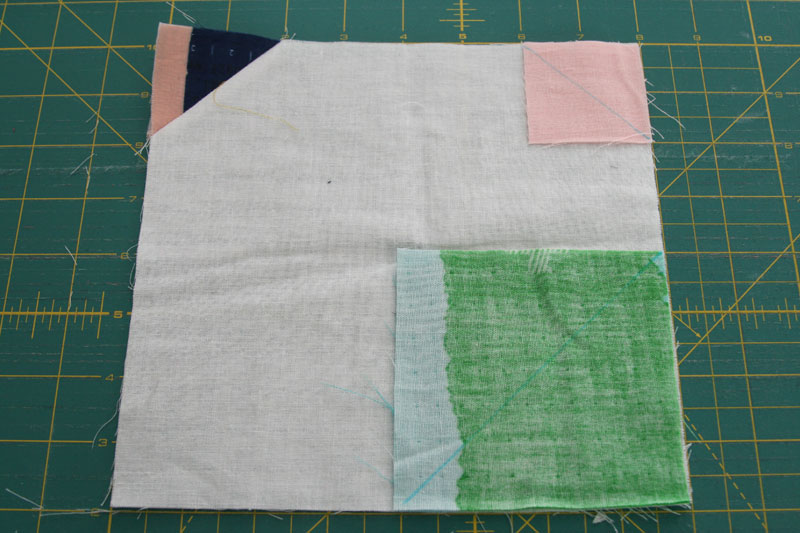
(this one already had a 2″ square sewn and flipped, and I decided to add another 2″ and 4″ square to 2 corners)
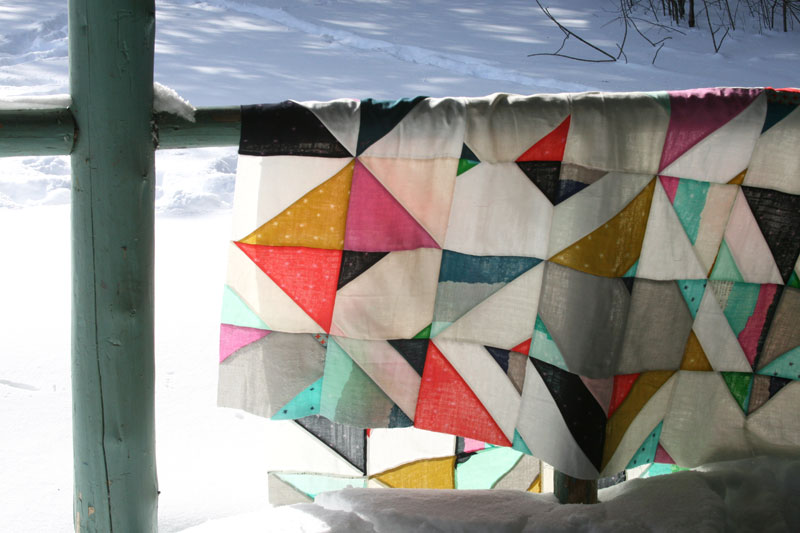
Lay out your blocks and adjust placement to your liking (or keep it totally random, as I did this time around) and sew together into a fun quilt top.
_ _ _
Details about this particular quilt (just to give you an idea of fabric requirements):
26 – 8″ background squares
23 – 8 1/2″ background squares
(approximately 2 1/2 yards total of a mix of three background solids)
23 – 8 1/2″ printed/colored squares
50 – 4″ printed/colored squares
38 – 2″ printed/colored squares
(I used a 1/4 yard bundle of Bespoke fabrics plus 1/4 yard of 2 additional colored solids, with plenty left over)
8 block by 9 block layout for a large throw size of approximately 60″ x 68″.


 Greater than/less than
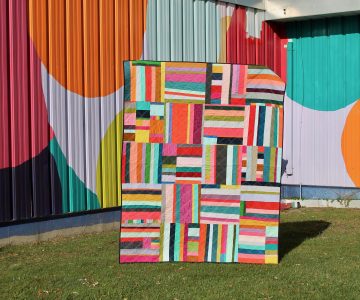 scrappy solids