So, it seems there’s interest in the measurements for this block (It wasn’t actually a trick question – I really did want to make sure there was enough interest before taking the time to put together a tutorial! And, well, it got a lot of you to comment, so there’s that…)
I hope you’ll enjoy this tutorial and will pull out some fat quarters to give this block a try! It’s fun to make and goes together quite quickly!
_ _ _
Block size: 9″ x 10 1/2″ (unfinished)
A few points to keep in mind:
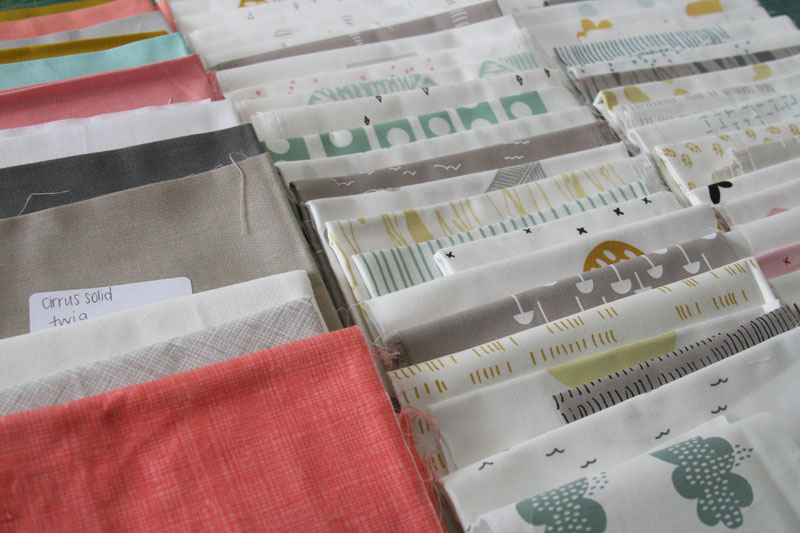
*measurements provided are ideal for fat quarters, but yardage could be used as well
*non-directional prints work best — directional prints can be used of course, though keep in mind that the design will be upside down on half the block
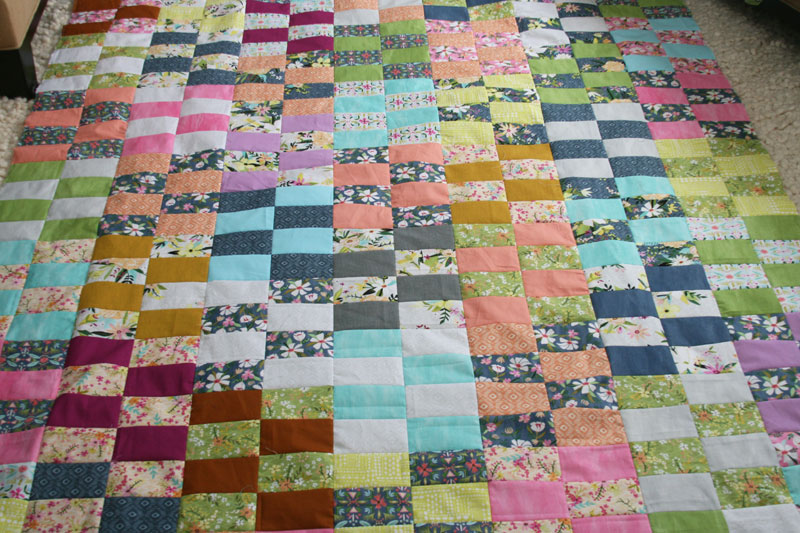
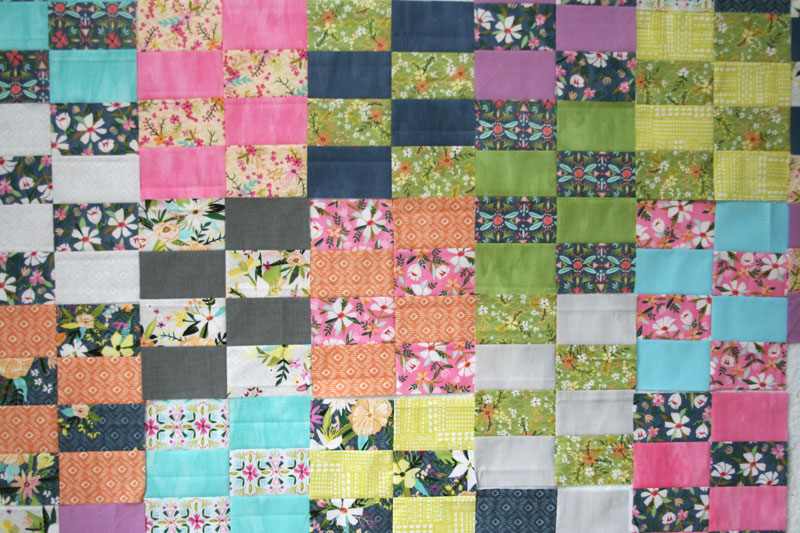
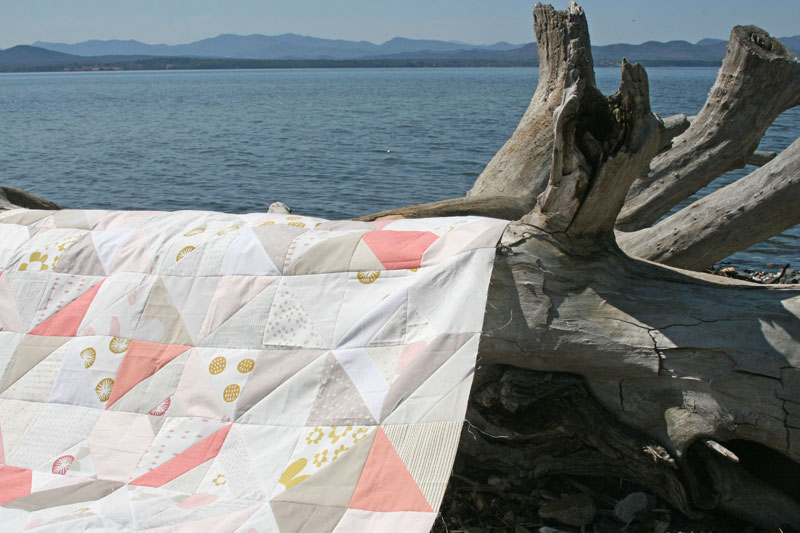
*each pair of fat quarters yields 6 blocks (I used 18 fat quarters included in Melissa Ybarra’s Blush & Bloom line, along with a few extra solid strips, for a total of 56 blocks arranged in a 7 block by 8 block layout)
ready, set, go!
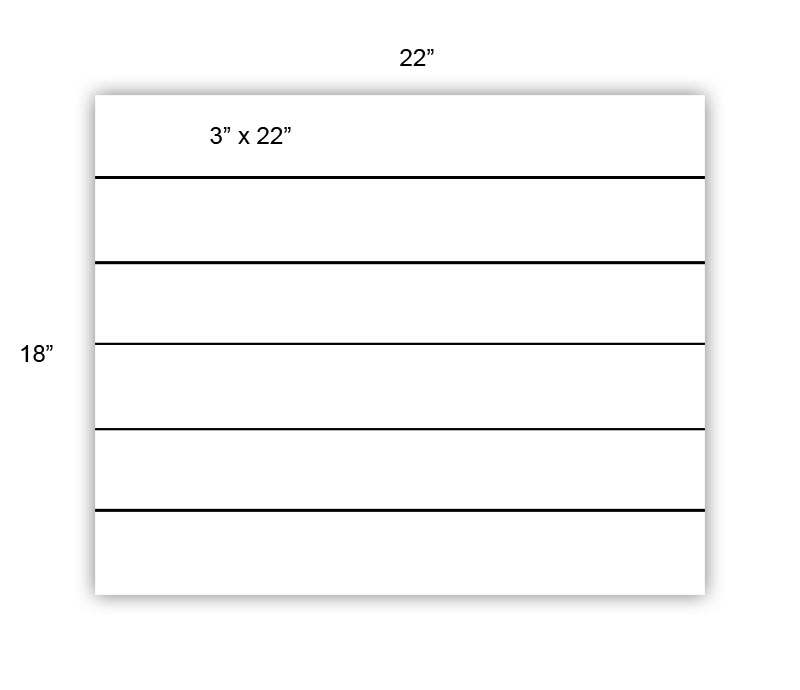
From each fat quarter, cut 3″ strips along the long (22″) edge of the fat quarter. You can cut 6 – 3″ x 22″ strips from each fat quarter.
Pair each strip with a strip of a different fabric (I think they look great when they’re coordinating, but have different values so you can see the checkerboard look – I mostly paired a print fabric with a solid or near solid, but play around with it to see what you like best!)
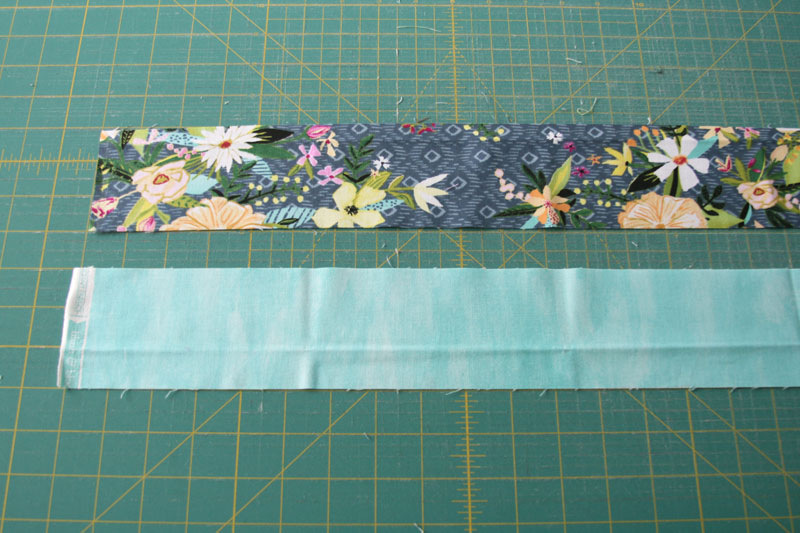
Sew the two strips together along the length and press the seam
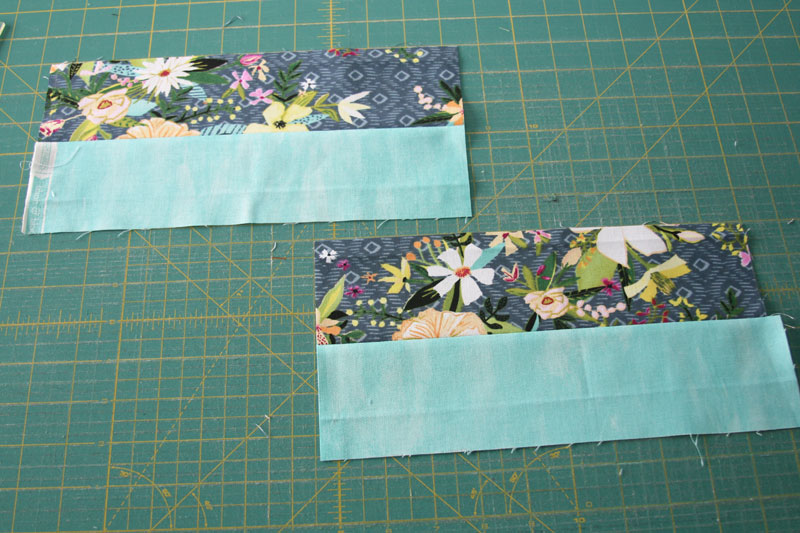
Cut in half – I cut my pieces into roughly two 10 1/2″ sections.
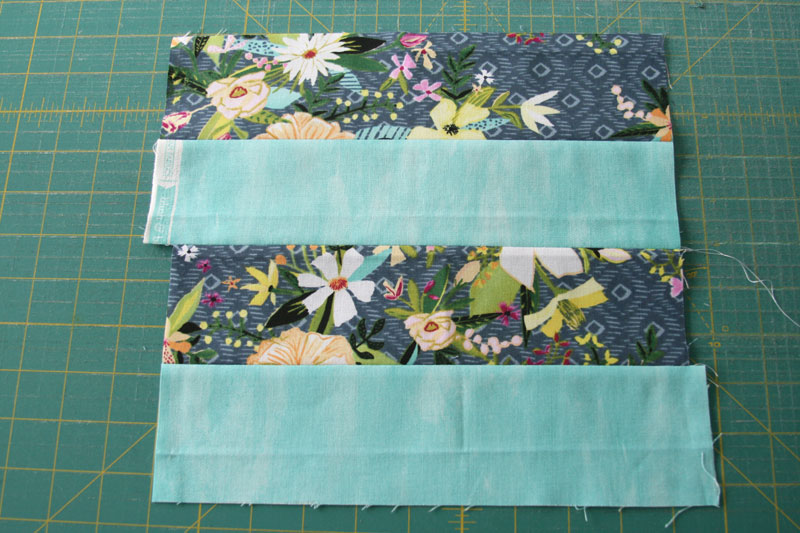
Sew these two pieces together, repeating the pattern (print, solid, print, solid, for example) and press
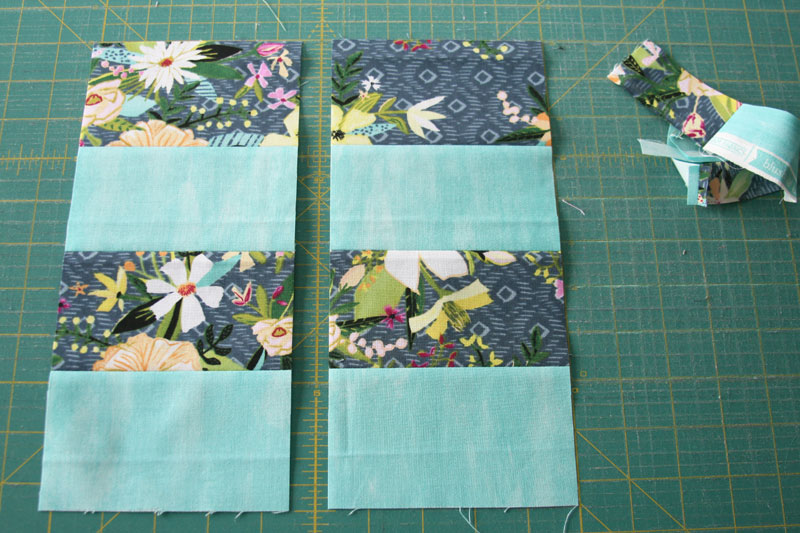
Trim one edge, then cut two sections measuring 4 3/4″ (look – very little waste!)
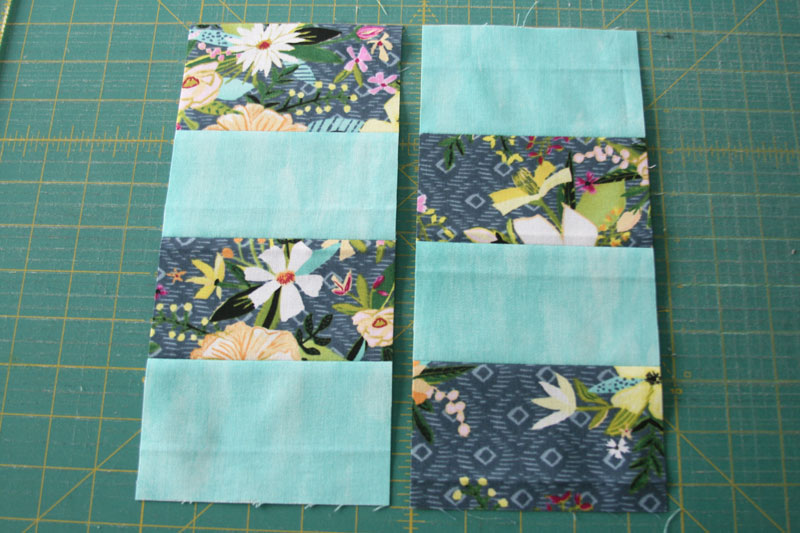
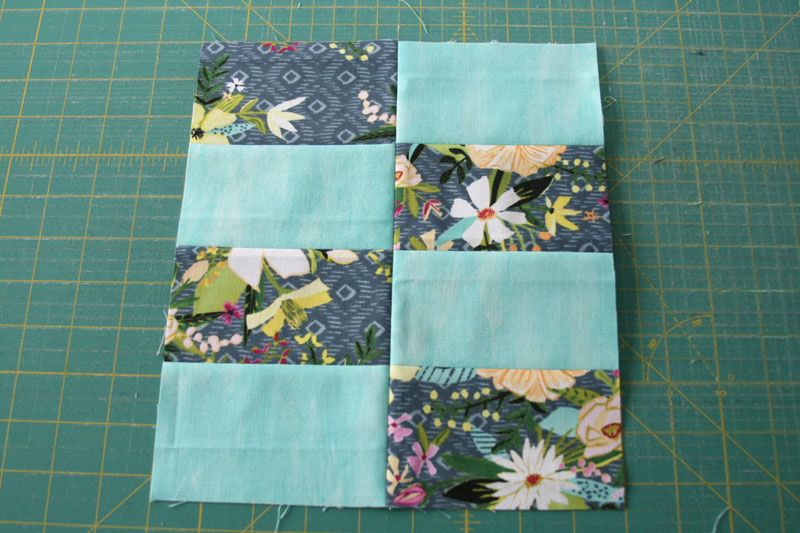
Flip one section and sew together. Pin at each seam, or keep an eye on the seams as you’re sewing to make sure they’re aligning correctly.
Note: Keep in mind that how you flip and sew your sections will determine the look of the final block – above you’ll note that I kept the print at the top left, and if you were making a quilt with alternating prints and solids and wanted to keep that pattern across the quilt, you’d want to make sure to keep it the same for each block (ie – always keep the print in the top left when sewing these sections together).
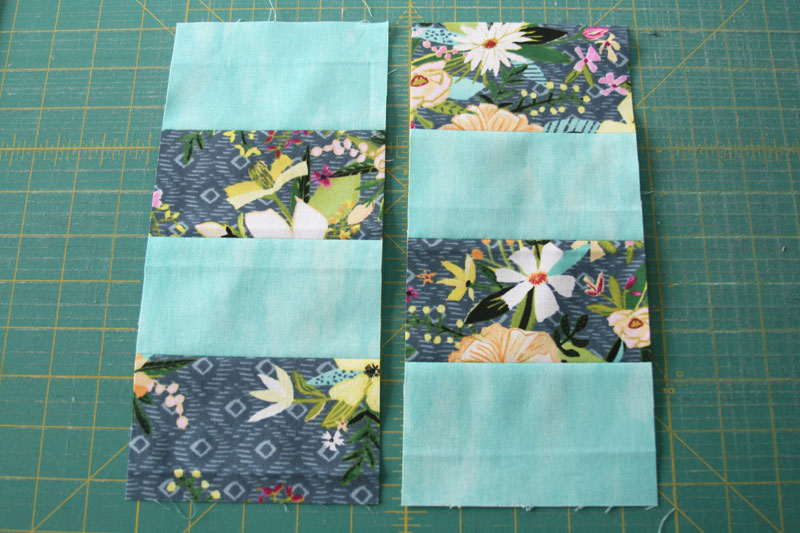
If you flip it the other way, the solid will be in the top left.
[In my quilt I decided to sew my blocks randomly, so you’ll see sections where the blocks are put together and prints are aligned with other prints, rather than always alternating with a solid]
Sew together and press, and ta da, block #1. Repeat for as many blocks as you need for your desired quilt size.
To speed up the process, make several blocks at once and chain piece. You’ll be amazed at how quickly this top will come together!
I’d love to see what you create! Use #2x4quilt on Instagram so I can take a look.
_
_
Like this tutorial and want to make a donation? [paypal-donation]


 Greater than/less than
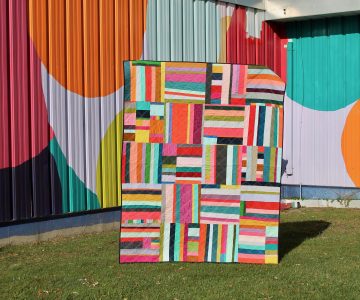 scrappy solids