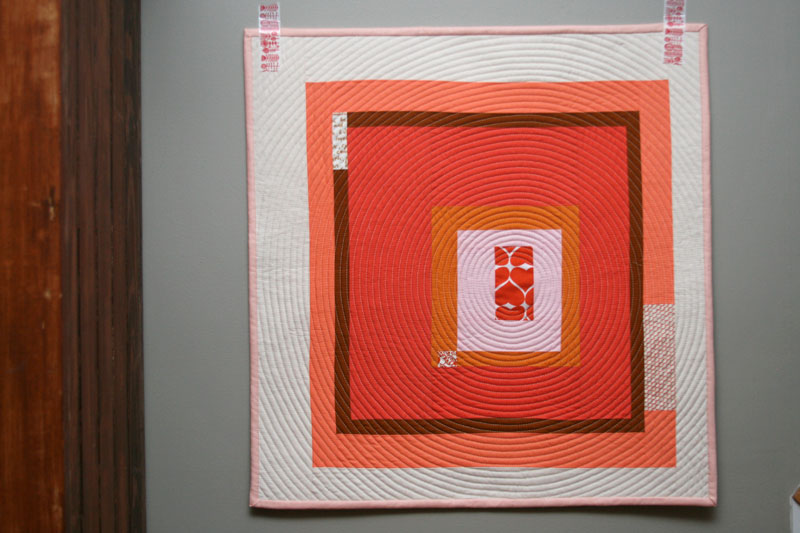
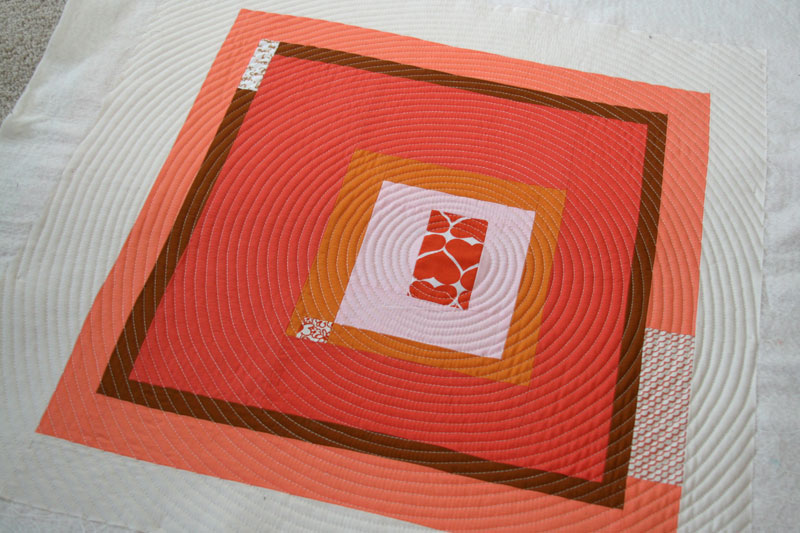
This little quilt is a remake of a favorite from a while back. I just love this heart print from Umbrella Prints, and have used it as the center of this mini quilt, pairing the red with other warm colored solids and just a few little other snippets of special hand printed fabrics from Umbrella Prints.
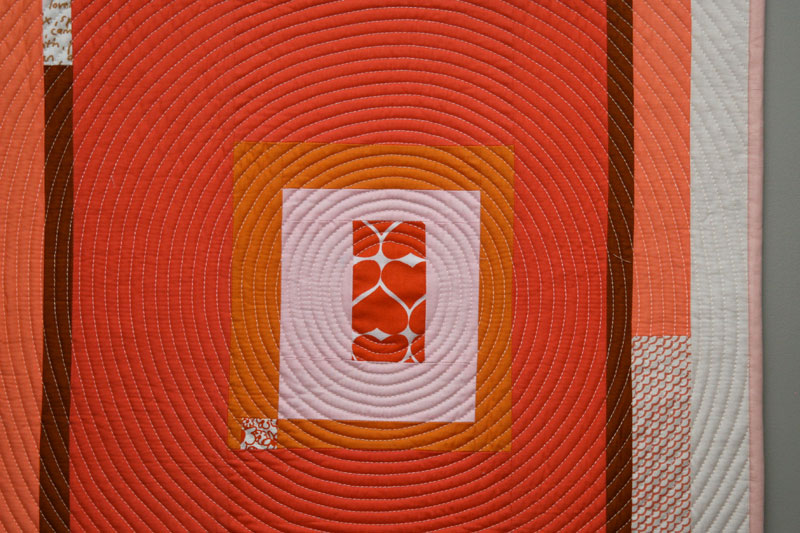
I loved the last set I made so much that I decided to quilt it the same way, with a tight spiral, centered over the heart fabric. As I mentioned before, while I love the look of this spiral quilting, it does take some time, even for a mini quilt!, and requires lots of turning and pushing the quilt through the throat of the sewing machine. I haven’t yet attempted it on a larger quilt, and I think if I did, I’d most certainly make my stitching lines further apart (these are about 1/4″ apart).
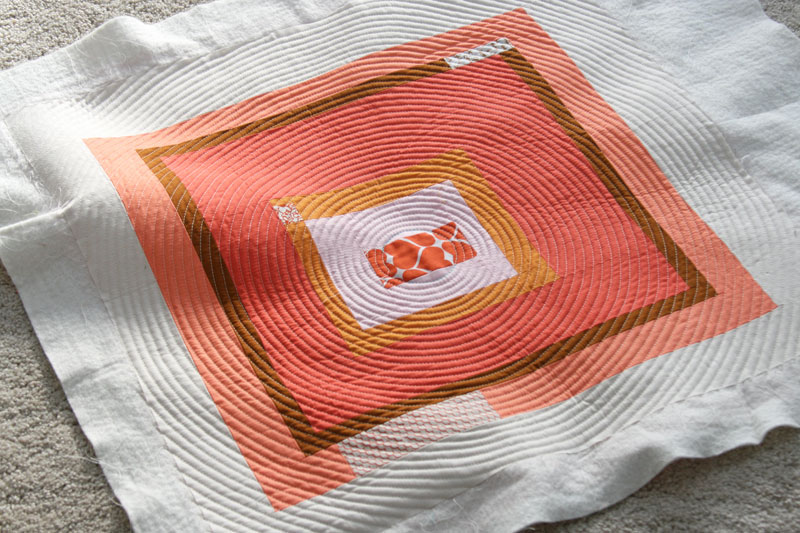
With this type of dense quilting, especially with a spiral it seems, the end result is kind of wavy and doesn’t really lay too flat as you can see in the photo above. I decided to block the quilt — I don’t often block quilts, since most don’t have this kind of dense quilting. But it seemed necessary for this one, since it’s intended as a wall hanging, and therefore won’t be washed. I really wanted to make sure it would hang as flat as possible. If you google ‘wet blocking a quilt’ you’ll find lots of information about this, which seems to be along the same lines as blocking a knit item.
A quick run-down of what I did (keep in mind that this was for a small quilt, and not one destined for a quilt show!) –
Before trimming the excess batting, I found an out of the way spot near our baseboard heating to lay the quilt out. I put a lightweight towel under the quilt and then wet it with a spray bottle until it was saturated. Then I flattened out the waviness, tugged the edges until it looked square (I should have used a quilting ruler, but since this quilt was so small, I just decided to go by eye), and pinned right through the quilt into the carpet (rust proof pins would have been a good option, but I took my chances!).
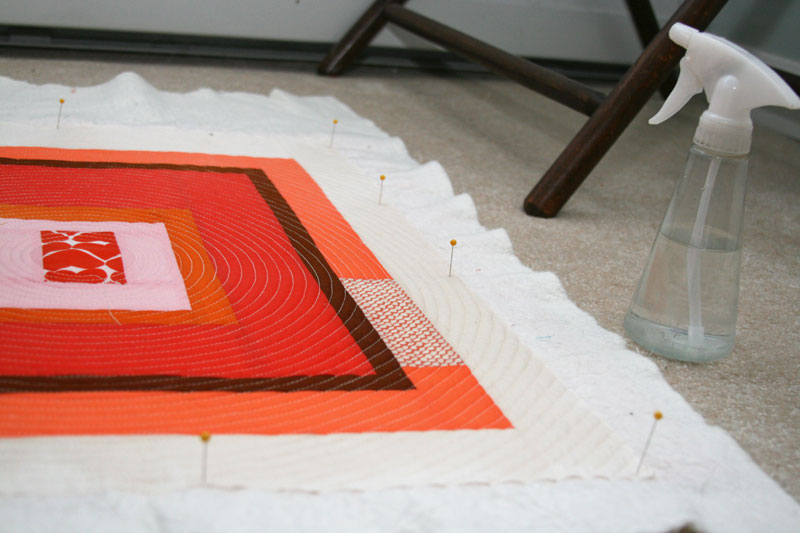
I could tell immediately that the water greatly helped the waviness, so I really didn’t have to pull too much, and consequently didn’t use too many pins (if I had had to pull at the borders a lot I would have put pins much closer together to prevent waviness along the edges).
I left it overnight, and was quite pleased to see that it was completely dry and nice and flat the next day. I squared it up and trimmed the excess batting and then added my binding.
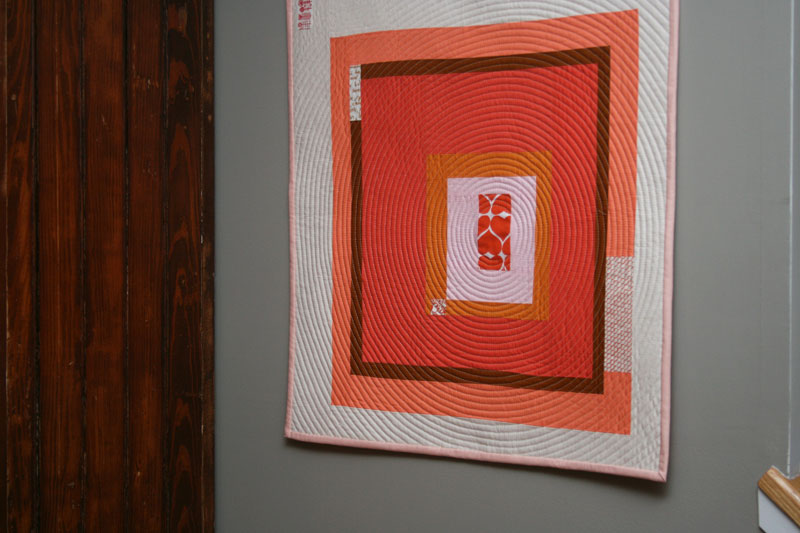
It measures about 21″ x 22″ and can be found in the shop here.




 Greater than/less than
 scrappy solids