I was so happy to have finished my first quilt that I quickly got to work on a second (keep going when you’re on a roll, right?!)
For this simple one I used some precut Katie Jump Rope 5″ squares. I only had about enough for half this quilt, so I cut the remaining from other assorted scraps and fat quarters I had in my stash. These typically aren’t my colors, but I do like how they all look together.

I was a bit limited for the back, since I only had smaller pieces remaining, but I managed to piece it all together.

I quilted diagonally through the squares to form a diamond pattern. I think I would have preferred free motion meandering, but this will have to do for now. To finish, I just need to pick a binding. That might be easier said than done, as my choices are limited if I want to stick with fabrics from this line…
Hopefully I’ll be able to show the finished quilt early next week!


 Greater than/less than
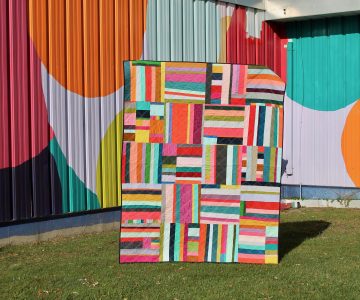 scrappy solids
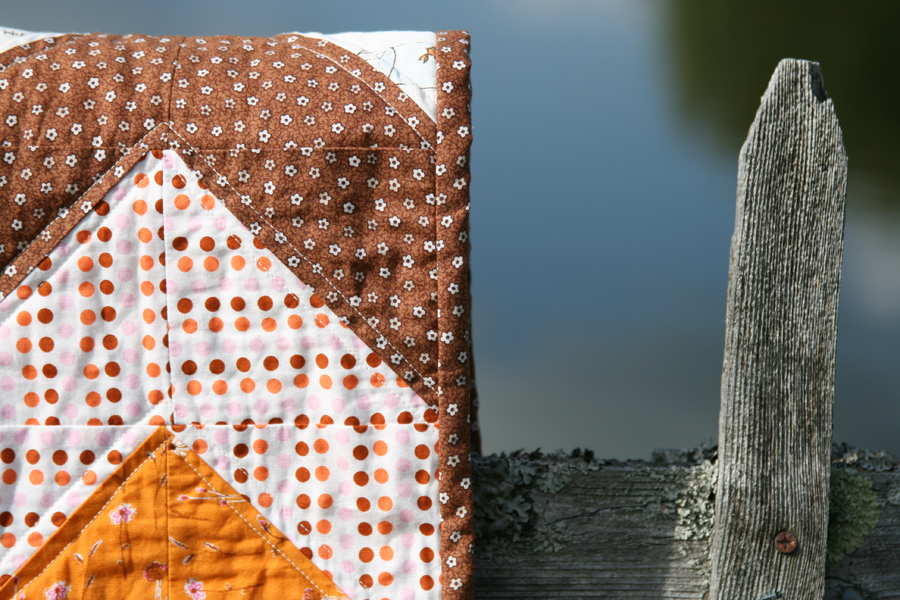